Showing posts with label Kristen. Show all posts

Sunday, January 5, 2014

Kristen: New Year, New Organization

As the new year begins, I've decided to get organized...cue the laughter! I've always been a little bit messy. Just an itsy tiny bit disorganized. My teenage/college years were most epic in their lack of cleaning and systems of organizations. Let's recap some of my more recent dirtiness...

 It's because I'm creative! Honestly! So part of my new year will include trying to be more organized. Here are a few things I've already done. Maybe I can save one of my fellow crafter/seamstresses from my most cluttered fate...
Fabric
 Most seamstresses will have a stockpile of some sort, stashed away for the *perfect* project. All of those fabric sales! I've stopped buying fabric unless it is for a specific ensemble, and most of my scraps are going to school for my students' projects. The big plastic drawer is excellent for projects that I will not be doing for at least a month. The smaller bags hold individual projects, complete with thread/pins/needles. They're perfect to bring with me to sewing night or family gatherings (sorry family-I'm not bored, just industrious!).
 Ribbon/Small Bits
I can't take complete credit for this-I found the idea on pinterest! I noticed that my ribbon spools were taking up tons of space, so I wrapped them onto popsicle sticks. My stash went from 4 boxes to 1! The transparent tupperware bins are perfect for storage too, and I have 10 total. Much easier than a pile shoved silently into a corner...
Thread
I bought this wooden thread rack at Joann Fabrics. It is an improvement from the sad tangle of thread with the occasional dangerous pin. I keep out the spools that I use most, though I keep a few cheaper ones out for quick fixes.
Utensils/Paperwork
For all of the little bits that need to be out for convenience. I store scissors, writing tools, pliers, and receipts all in one place. Best of all, it rotates! I found this lovely at Michaels, with one of those deep discount coupons.
 Jewelry Tools
Did you know that I make jewelry too? My etsy shop is here, in case you were wondering...since I like to use as much period accurate beading/material as possible, my stash of beads exploded! I store types of beads in tiny plastic jewelry bags, and then separate based on color. I've been able to keep my sanity, as well as my crafting supplies! I'm a little exhausted by all the cleaning though...

Well, this might be time to take a break...and go work on my master's thesis...

~Kristen


Wednesday, January 1, 2014

Kristen: A 1920's New Year's Party

I've noticed in my adult life that the celebrations have changed. It's such an odd spectrum for New Year's Eve parties; as a child, we gathered with the family, and then as adult it's often with friends! This year I definitely celebrated as an "adult," complete with classy 1920's looks!

Now you might be wondering how I now moved in to this time period. Really, I haven't-yet. Though I did want a cute outfit to fit in, so I hunted through several vintage/thrift stores to find something *close.* I knew it wouldn't be perfect, but no one else would know!

I fell in love with this silky dress that I KNOW was a nightgown for an era that was NOT the 1920s (I wore my Regency chemise under it...). The exotic looking feather and headband tied together the whole look. Somehow I pinned a side chignon to my head, one that could withstand rounds of Wii U dancing and outrageous karaoke. It turned out to be an amazing night!

While I know everything wasn't completely accurate to the era, I had fun researching hairstyles and different looks! I may just have to add a 1920's dress to my sewing list this year...that list will be coming soon!

Happy New Year!

~Kristen

Sunday, December 29, 2013

Kristen: Sewing Basket Success!

As you may have noticed, I have already made these lovely baskets for Becky's baby shower. They have been quite popular with the ladies who won them in our game, and I'm happy to see them in use!

Now I will show you how to make them! They're fairly easy, and I have research to back them up! First, here is a quick reminder of the sewing basket research, which you can find on my blog here. In the 1861 Godey's Ladies Magazine, I found a lovely chintz basket that would be *PERFECT* for little sewing trips, instead of lugging around a huge bucket full of fabric...

Not completely satisfied, I needed to find at least one original. And I did find only one original! For some reason the website doesn't work anymore, but I was able to save the file to my computer.
When I find more sources, I will add them! Armed with a historical and original source, I planned my attack! And by attack, I mean I messed it up horribly and nearly gave up. Undeterred, I measured, cut, and sewed a few times until I had a template that fit. Here are my instructions:

Sewing Basket Tutorial
1. Materials: .5 yard cotton/silk material, matching thread, 3 chipboard sheets, long piece of tin for handle. Cut out pieces into the following shapes from the chipboard. There is not one particular "correct" size, though they shouldn't be too large. I don't have a picture of them uncovered, but here is what they should look like finished.

2. Cut and glue fabric to fit the chipboard shapes, leaving a half inch all around. Don't go too short on this; it's easier to trim later than add fabric! Next, roll 1 side of the fabric under a side, doing the same throughout the piece. A simple whip stitch around, and voila! (Actually, this takes the longest time).

3. You should have 7 fabric covered pieces now. Sew the two sides to the bottom.

3. And then the two ends...

4. Finally, attach the lid and the inner dividing piece. That last piece is the trickiest! I try my best to tack it down, though sometimes the glue from the side pieces interferes. At this point, your basket is just about done, leaving the handle for last.

5. The handle can also be pretty tricky. I'm using this intense tin that was given to me, and it is quite strong. Since tin can be sharp on its edges, I taped it down for safety purposes! 

 6. After fitting the fabric to the tin handle, I did just a small swipe of hot glue to attach the two. It's the only glue that has really gotten anything to stick to the tin...did I mention I hate tin? Then do a quick stitch folding over the fabric.

7. Finally, attach the handle to the basket. I usually do a glue/stitch mix. For an added touch I made a little needle case and pouch. Success!

Now I have this lovely little sewing case that I have no use for...Etsy soon! And possibly a pattern too!

Have you tried to make a basket like this? Please link or give me photos to look at!

~Kristen

Friday, December 27, 2013

Kristen: Holiday Nights at Greenfield Village

For my birthday celebration this year, I asked my fiancee to do something a little different. Usually we go out to a nice dinner or see a movie. Instead, we visited Greenfield Village! This was a first for both of us, and we met up with other members of the 21st Michigan for the ultimate tour!

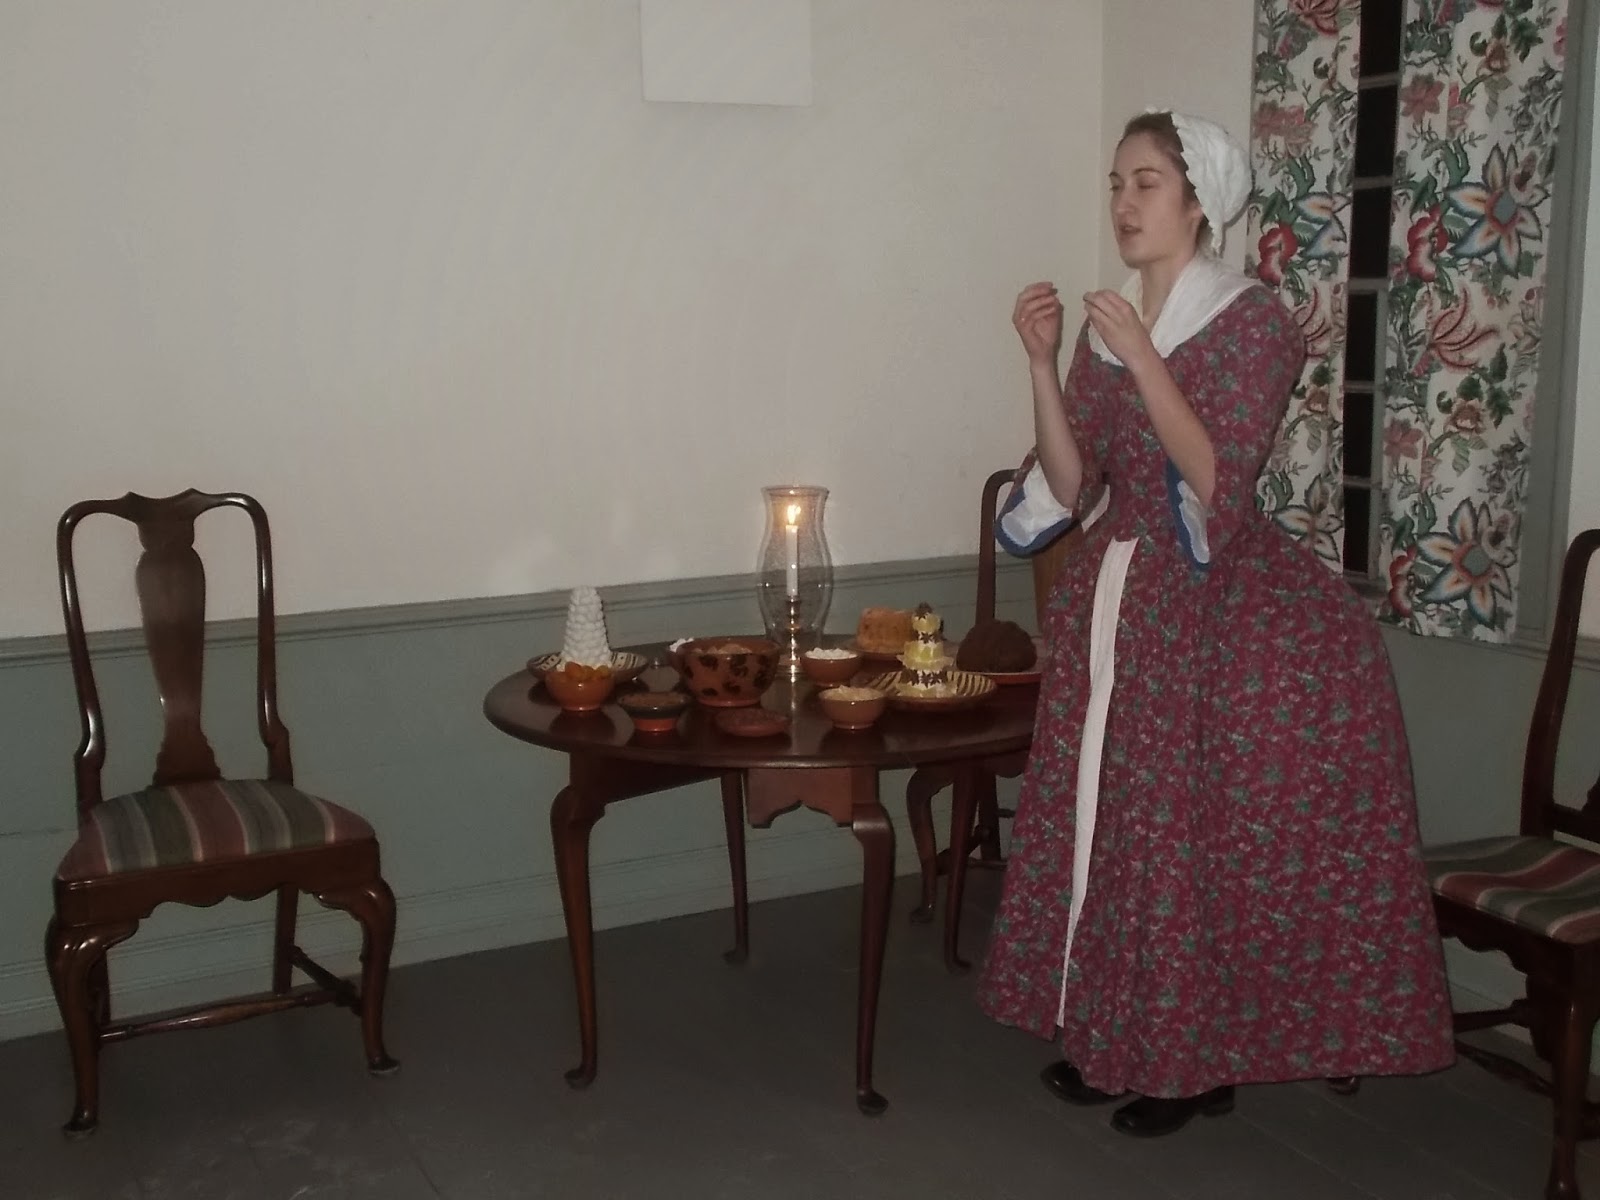
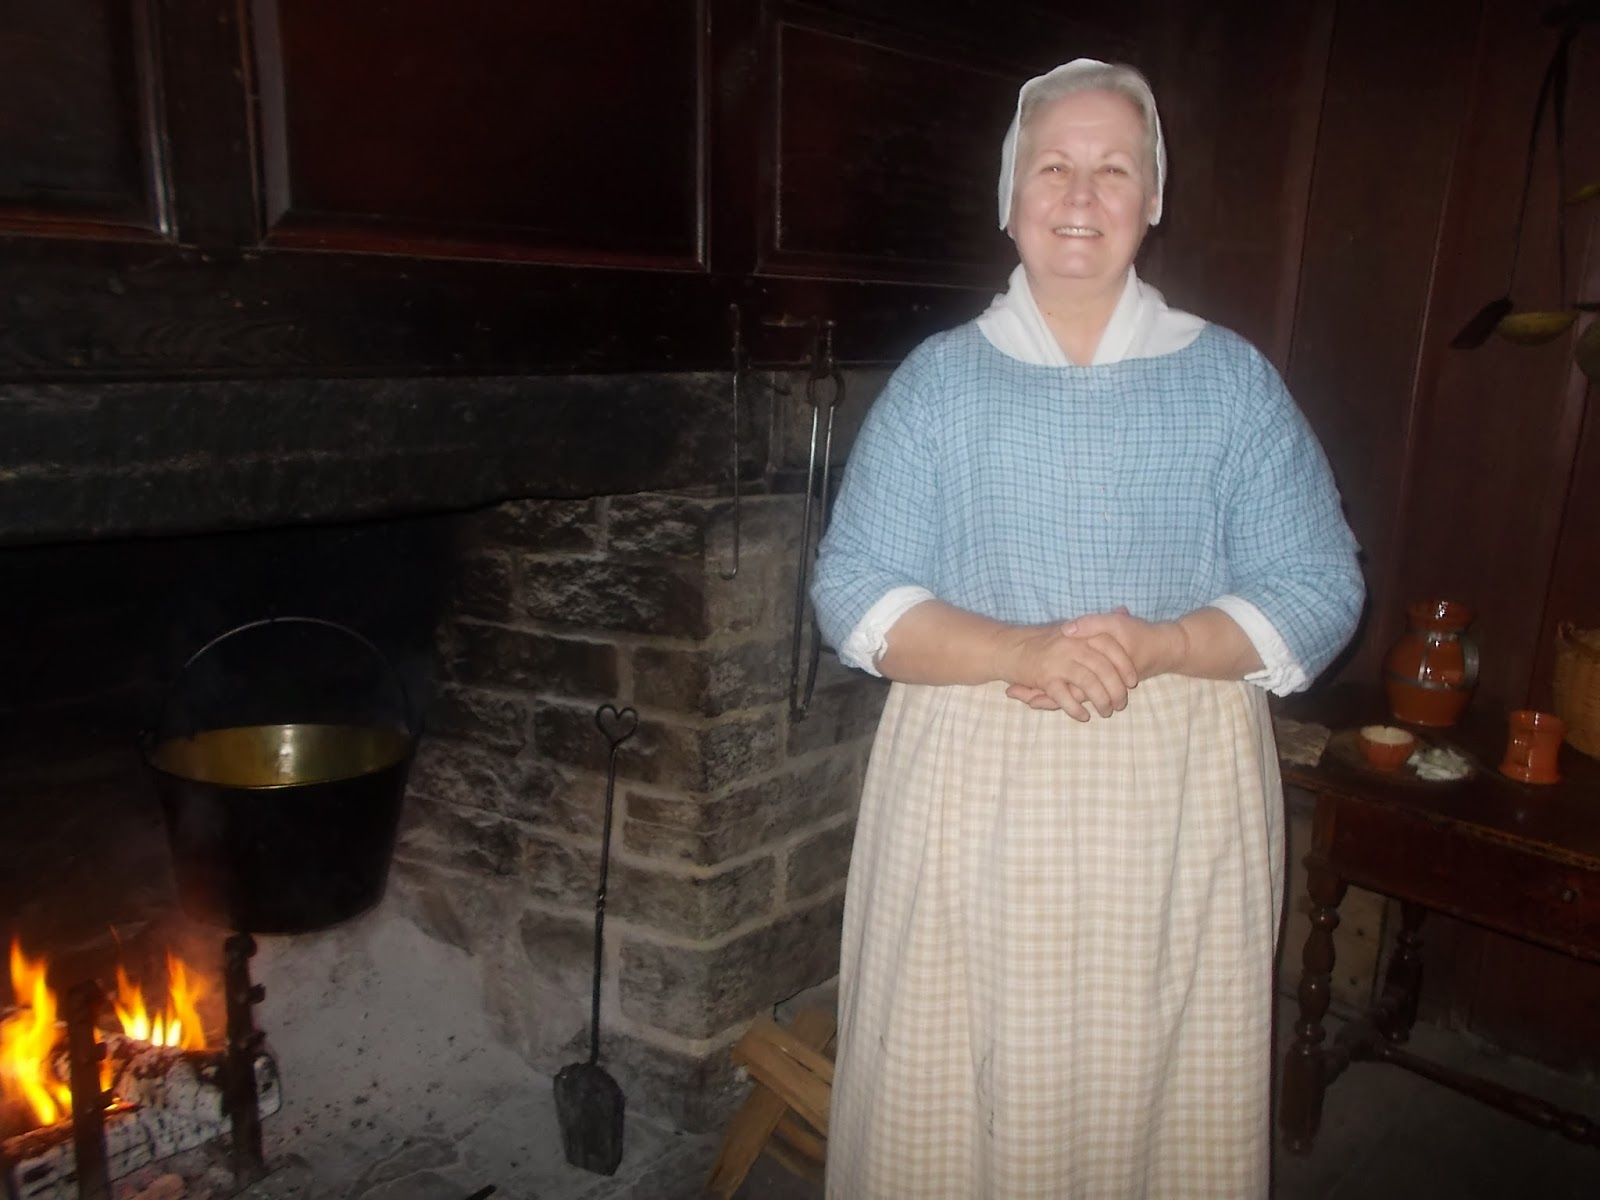
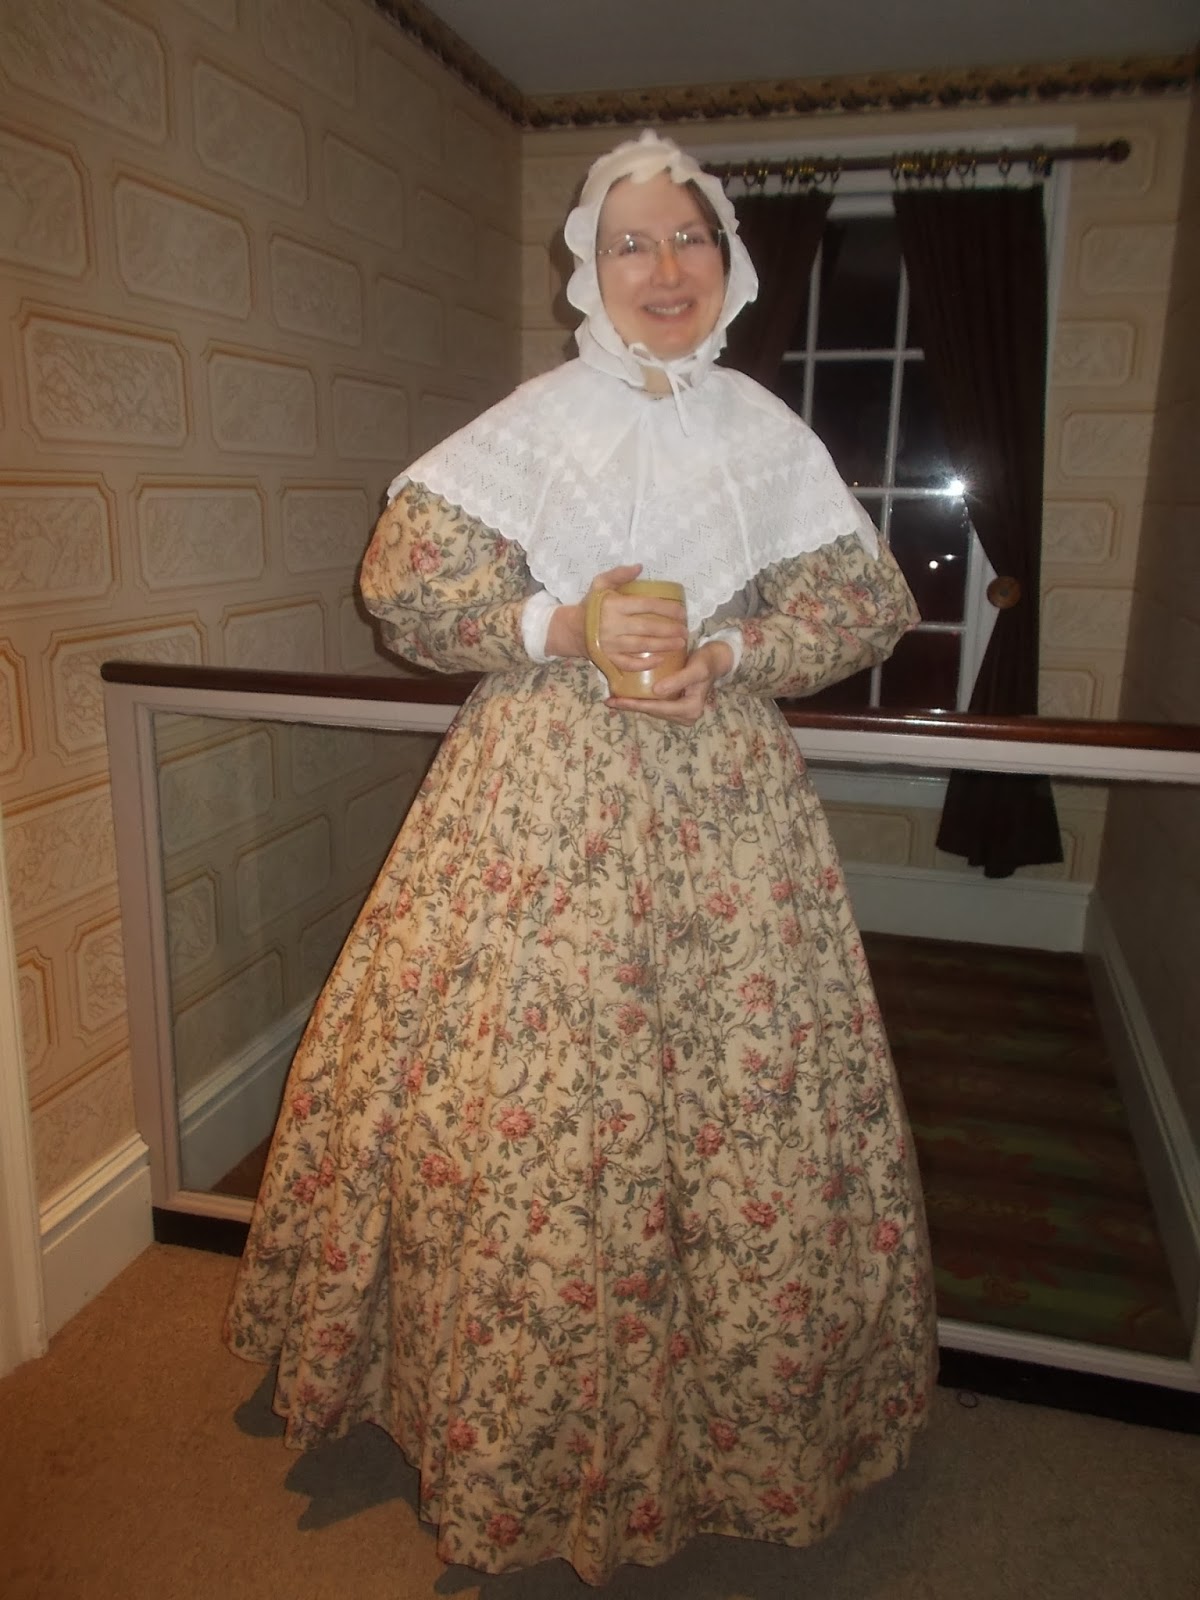
Ken Giorlando knows Greenfield Village better than most...when we first entered the village, we went in the opposite direction of the massive crowd. As a result, we experienced a calm, wait-free look into Christmas celebrations throughout many centuries! I took pictures of the presenters, since their clothing always catches my eye! Their words bring to life those past eras that reenactors so love!

We thoroughly enjoyed our time in all of the houses, though I kept finding little articles that I wanted to add to my reenactor stash! My poor fiancee...by the end of the night, most of the women were asking if he could buy them things too!
 Pretty chintz curtains
 A metal stove near the fire with roasting meat
 Silhouette-making in the parlor 
 The tabletop mirror...
 Four poster bed
 Another tabletop mirror with drawers!
 I want a pattern for one of these
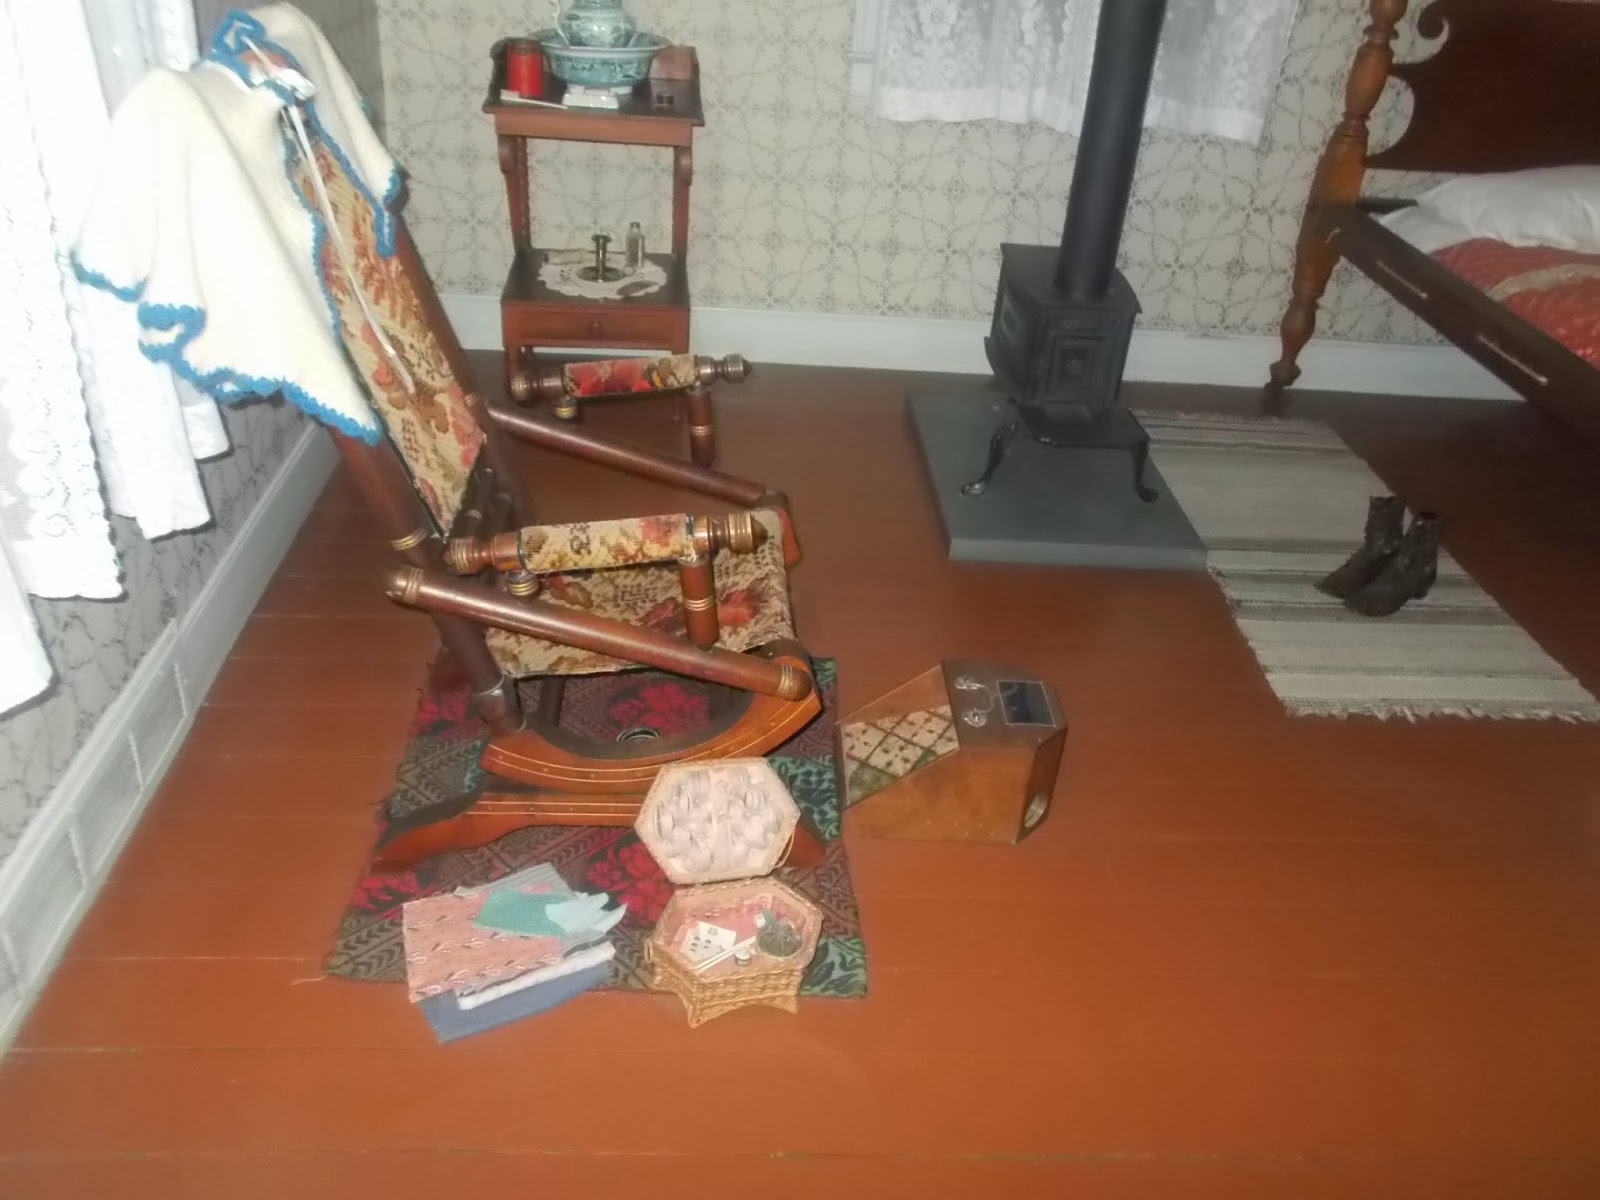
 Little sewing kit on the floor...
Dolls!

You may have already noticed an abundance of food in most of these pictures! My fiancee kept nudging me to look at the pies and cakes, and I nearly launched myself at a plate of cookies! We enjoyed several cups of hot chocolate, cider, and roasted chestnuts. I could not stop eating those chestnuts...I must have eaten an entire bag!

Did I mention the music? From nearly every house or fire sprang the gentle noises of holiday celebration! We hummed and sang along when we could, though we could not compete with such fine voices and instruments! (By the way, I have a TERRIBLE singing voice...)

Finally, nothing could top the Christmas trees! I was *green* with envy! I think I shall have to upgrade for next year. I like the idea of hanging presents and garland all over them!

It was a beautiful present, one that kept up the holiday spirit! I think this might be a family tradition for my fiancee and I. Is there a better way to celebrate both my birthday and Christmas?

~Kristen

On My Bookshelf: December

December has been a really rough month. Between what happened in Oxford (not far from where I live...) and just the general pandemic issues,...